|
相信大家在制作一个新的ppt的时候总会希望自己制作的ppt要更加的好看,那么今天小编带来一个ppt中制作格子数字效果的方法,有兴趣的小伙伴可以一起来看一看。
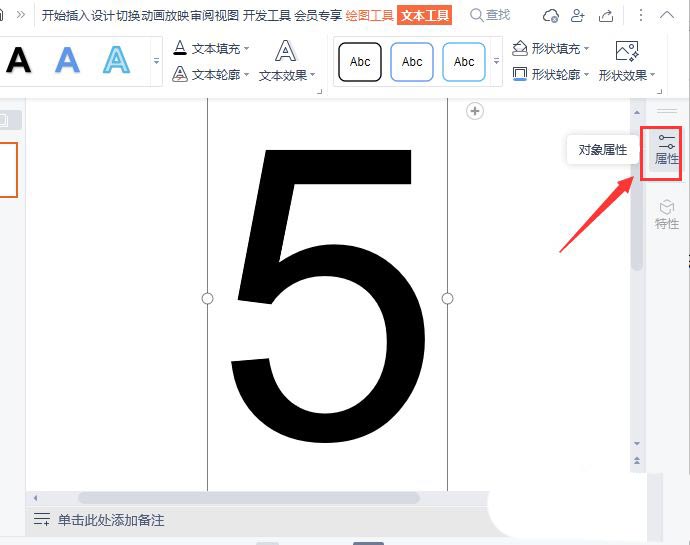
我们选中文本框,然后在右边找到【属性】,如图所示。
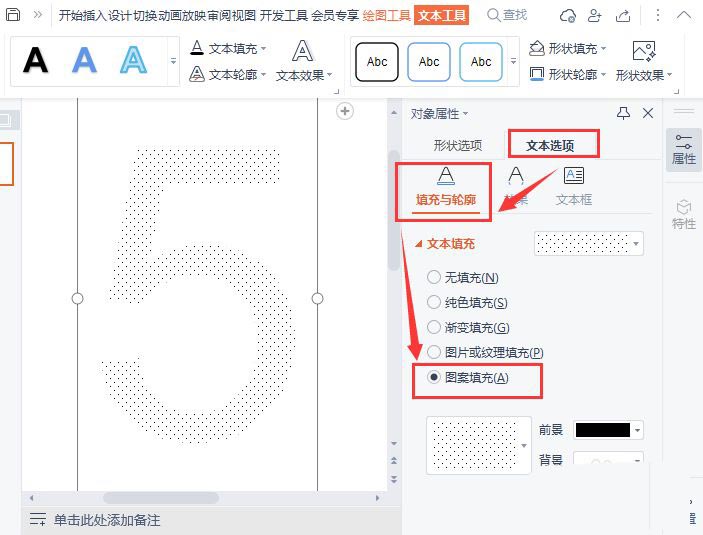
接着,我们在属性中点击【文本选项】找到【填充与轮廓】选择【图案填充】,如图所示。
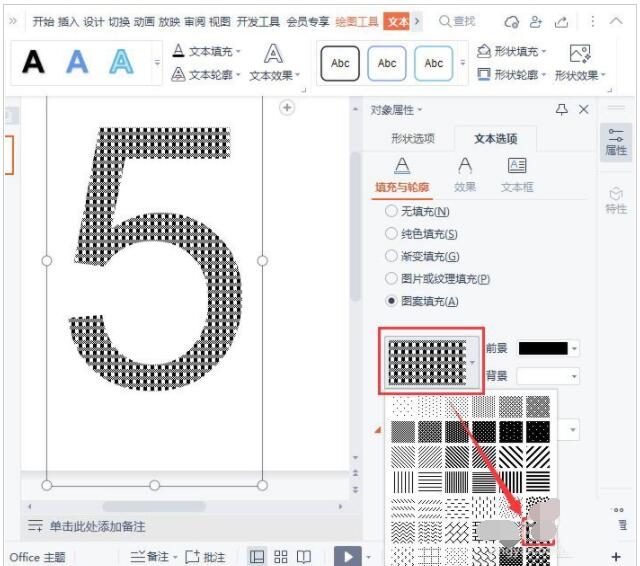
我们在点击图案,在图案里面选择格子的花纹,如图所示。
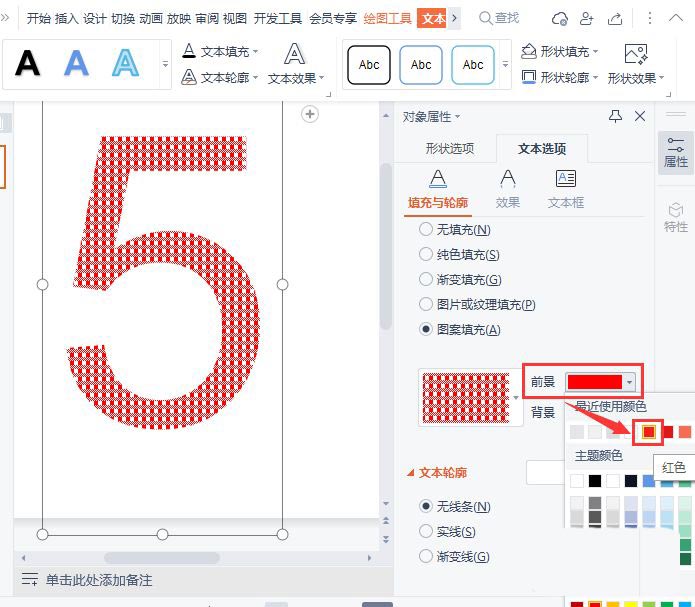
我们在图案的右边,把前景设置为红色,如图所示。
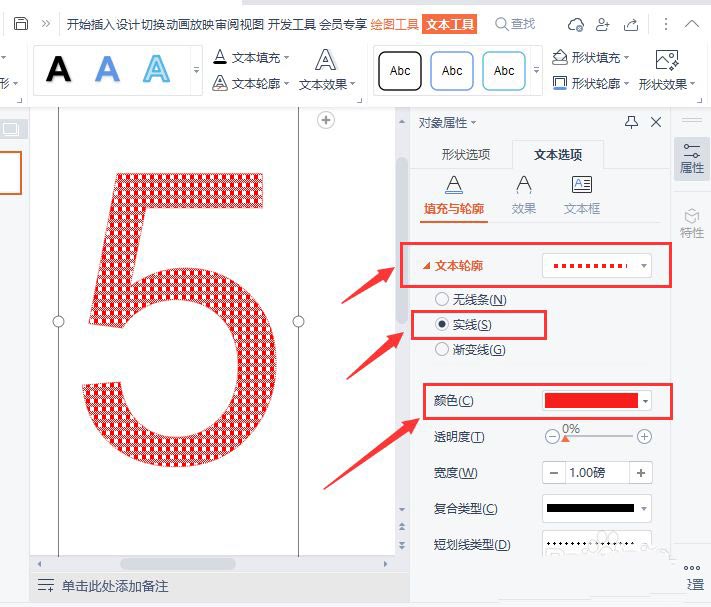
接下来,我们点击【文本轮廓】-【实线】选择虚线样式,把颜色也设置为红色,如图所示。
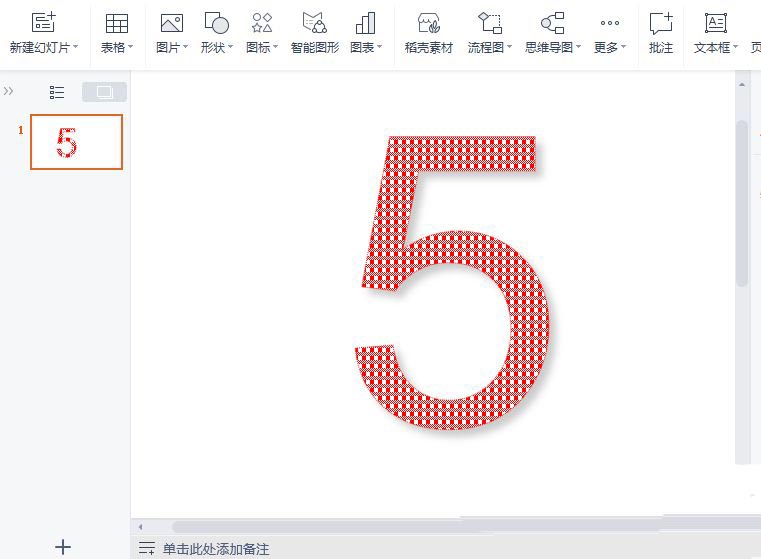
最后,我们在【效果】中添加一个灰色的阴影效果就完成了。

最终效果图。
 |