Win10专业版安全中心怎么卸载?
|
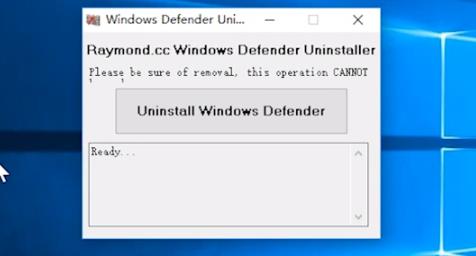
Win10专业版系统自带安全中心使用起来非常不便,日常工作中有许多本是工作需要的文件安全中心会自动删除很是麻烦,有很多Win10专业版的用户非常想把安全中心卸载了而又不知道如何处理,下面跟随着小编一起学习一下Win10专业版安全中心卸载的方法。 方法步骤如下 1、首先你需要下载一款“window defender卸载工具”。
2、安装完成后打开点击“Unistall Windows Defender”,在弹出的对话框中点击“是”。
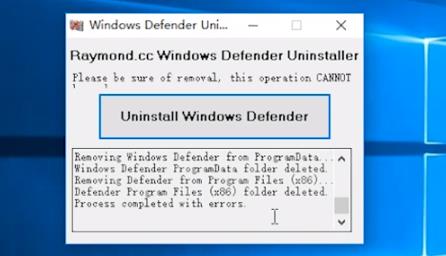
3、等待自动编码程序完成后点击“菜单”。
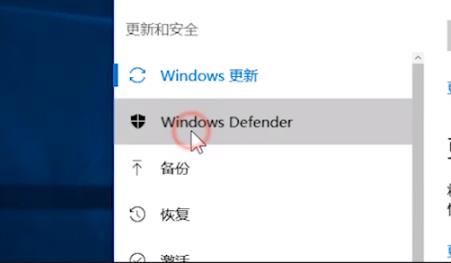
4、然后选择里面的设置,点击“更新和安全”选择“windows defender”。
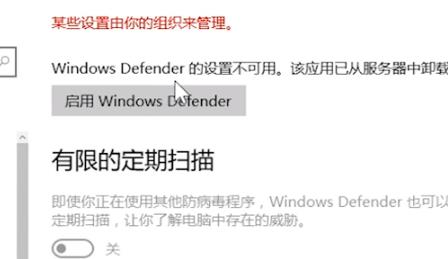
5、此时已经完成了卸载。
|