如何使用PS给古风照片调色?
|
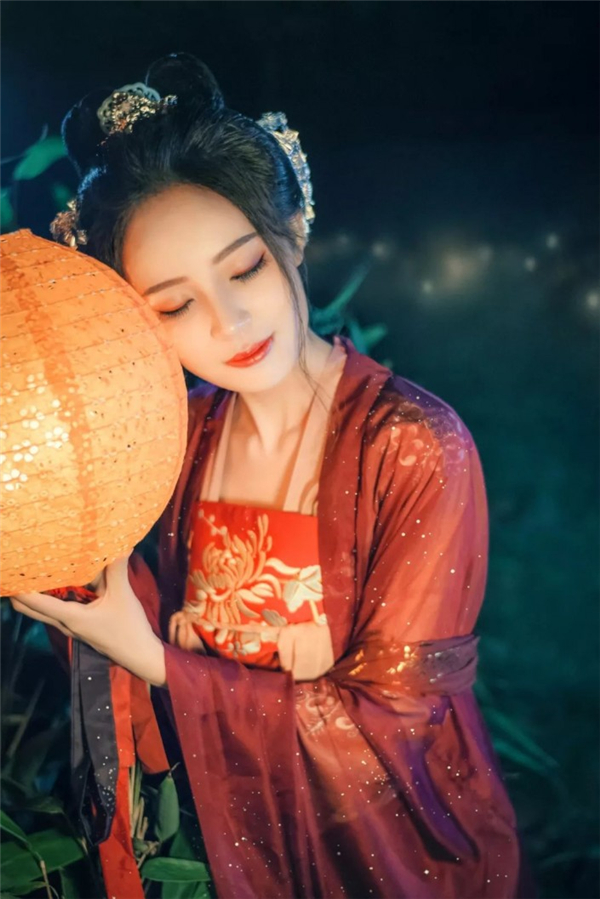
我们通常会使用PS去美化一些图片,而在人物摄影中,古风人像深受很多同学们的欢迎,今天给大家讲解把古风人像进行调色,因为前期工作做的很到位,所以在后期没有很大改变,模特不管是表现力还是妆容都不需要做什么调整,基本就是调色。具体一起来学习一下吧。 效果图:  素材: 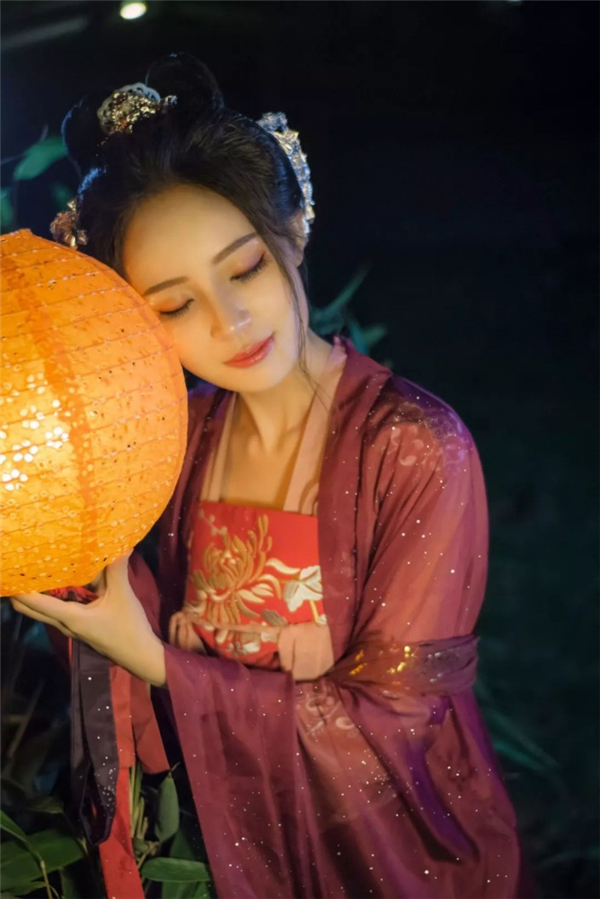 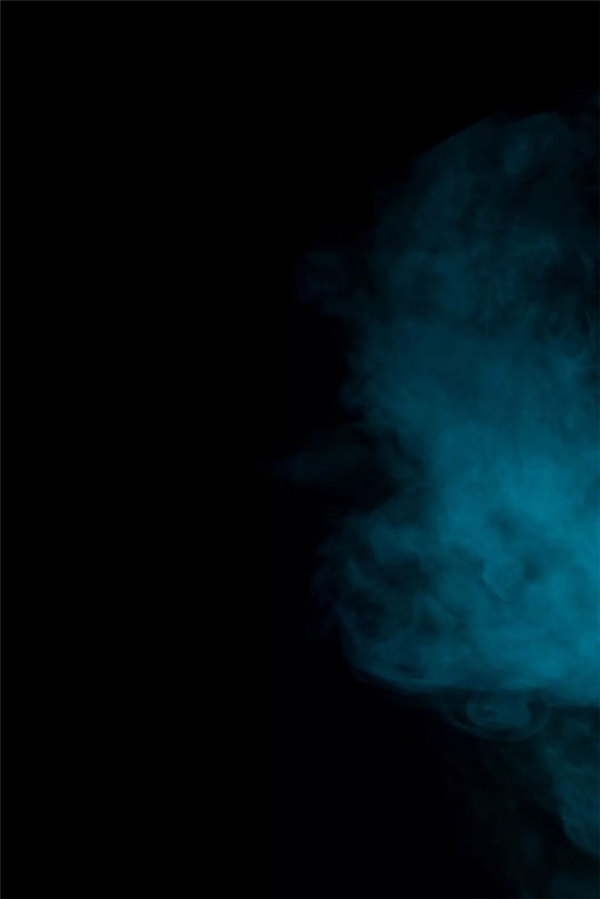 操作步骤: 1、打开【photoshop】,置入原图,执行【camera raw 滤镜】,调整图片的色调(数值大家不一定要原搬数据,可以自行尝试调整); 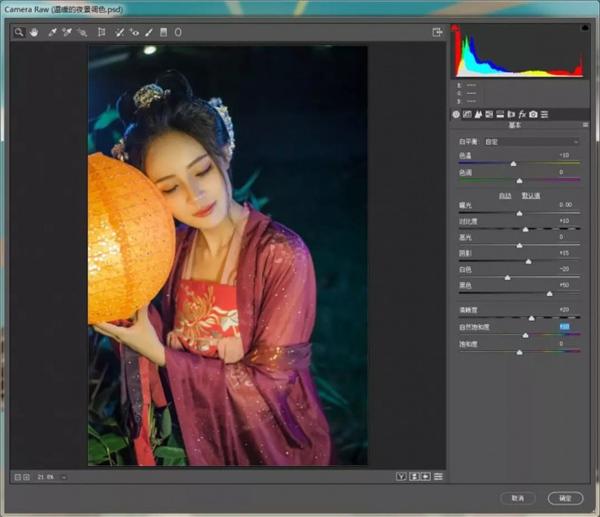  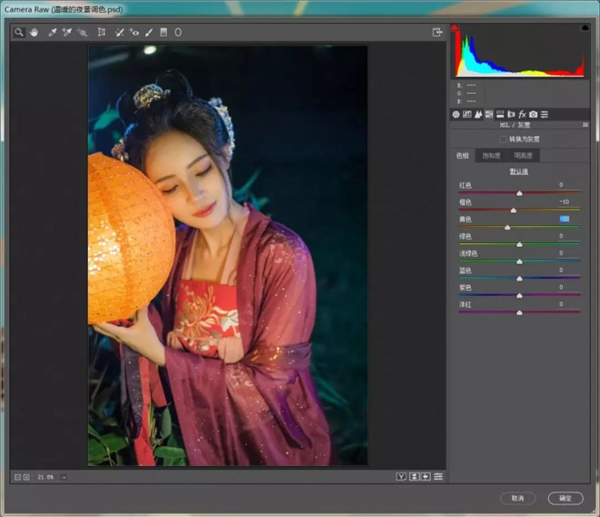 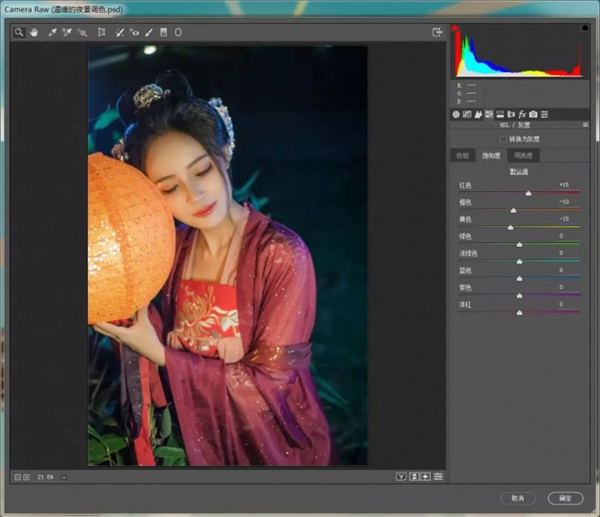  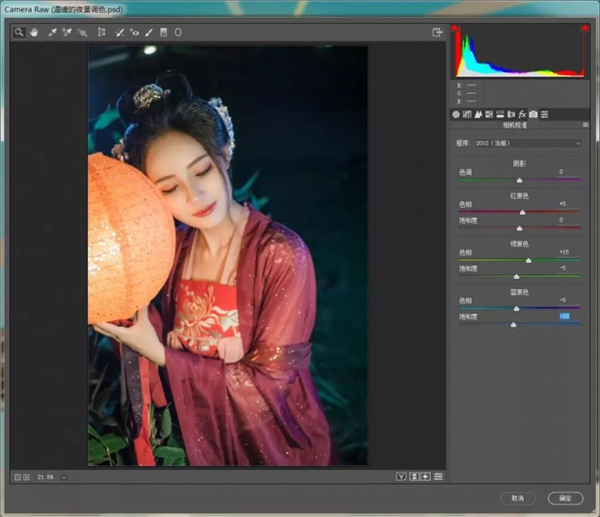 2、完成后,我们使用【修补工具】来清除画面的杂物,如图; 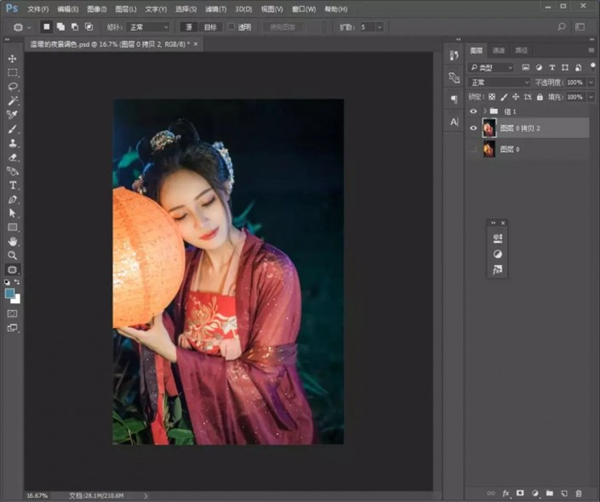 3、依次拖入星光和烟雾素材,调整好位置。烟雾图层模式改为【滤色】,并给烟雾素材添加蒙版,擦除多余部分并降低图层不透明度; 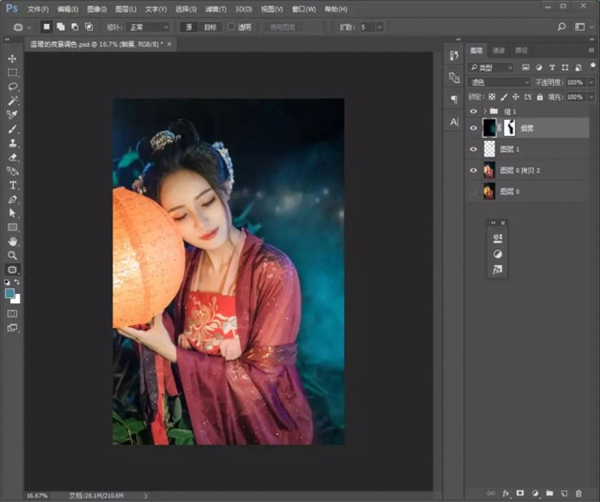  4、【ctrl+shift+alt+e】盖印图层,再次执行【camera raw 滤镜】; 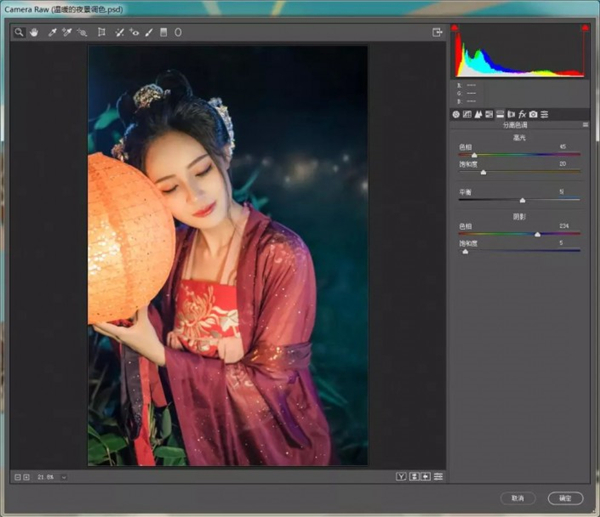  5、完成后,我们给她添加【照片滤镜】调整图层,并使用黑色画笔涂抹人物部分; 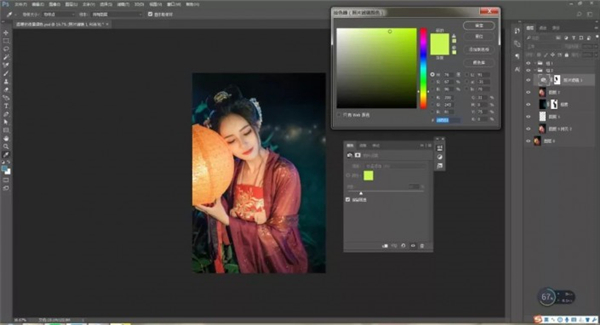 6、添加【曲线】和【色彩平衡】调整图层; 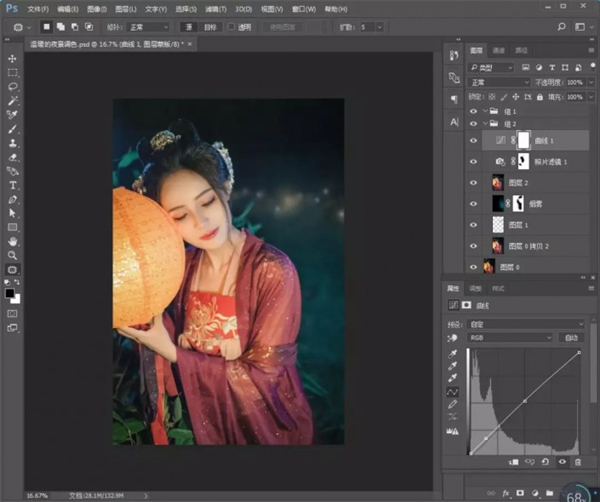 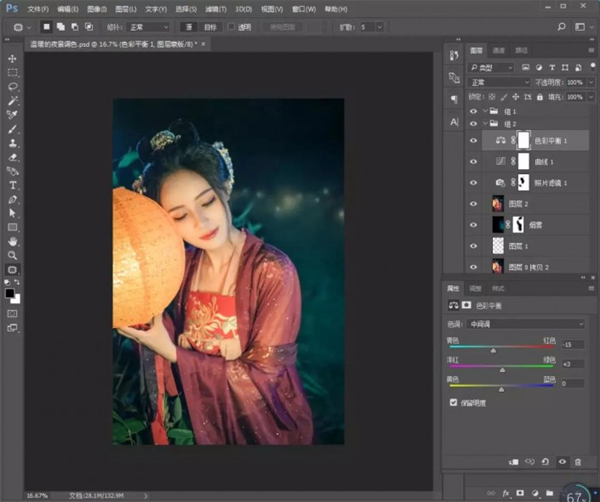 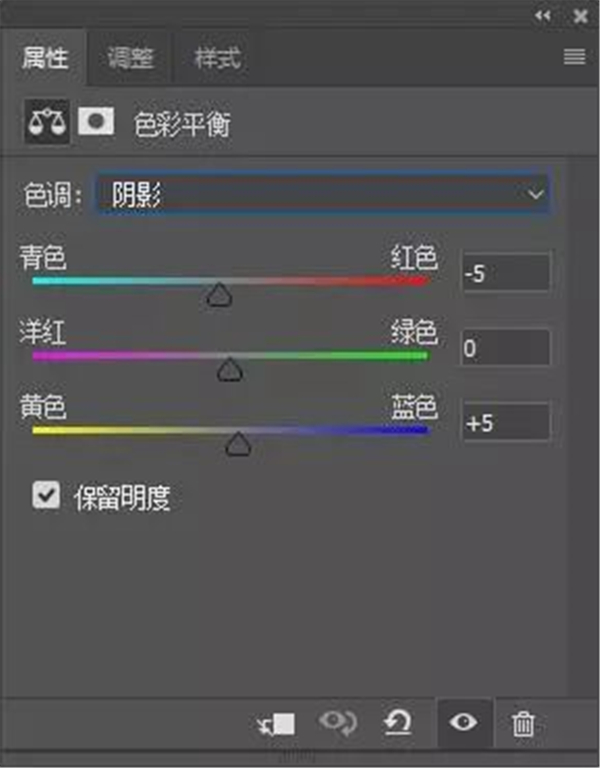 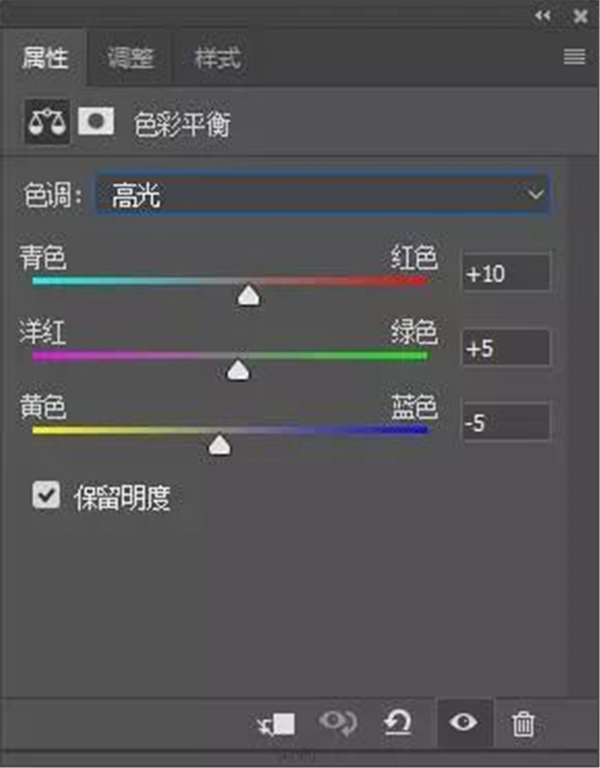 7、添加【可选颜色】调整图层;  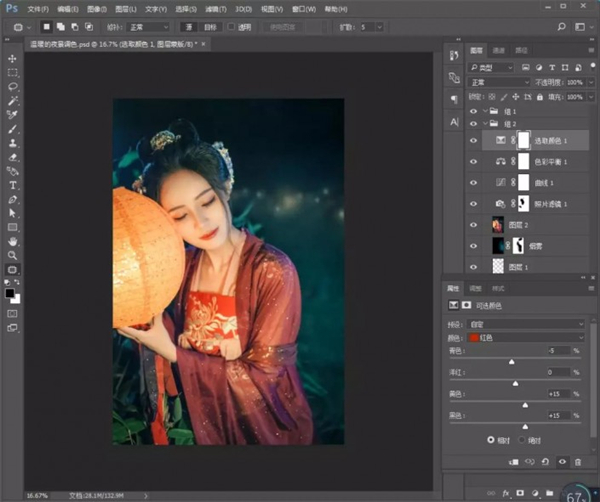 8、添加【色相/饱和度】调整图层,并填充蒙版为黑色,使用白色画笔涂抹人物; 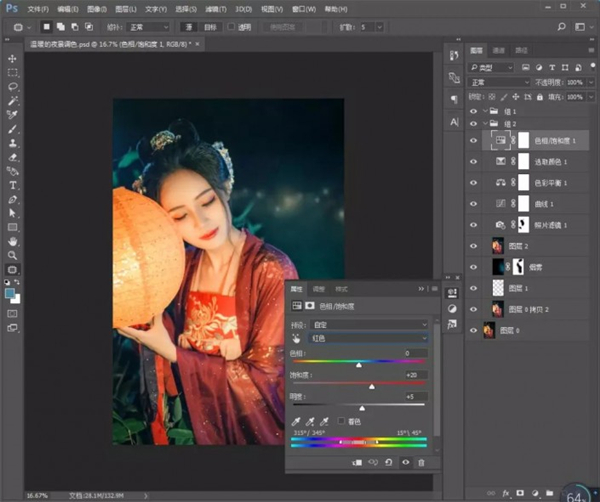 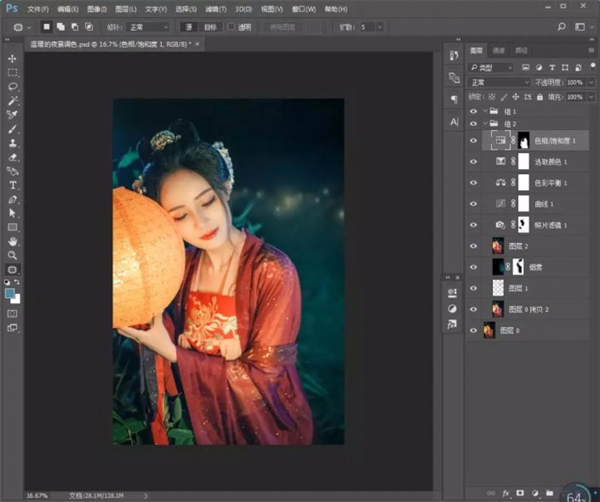 9、盖印图层,执行【camera raw 滤镜】;   完成:
不要只看美丽的模特的小姐姐,要通过具体来学习一下教程,调色的原理是什么,什么操作成了现在看到的照片,一起来提高自己的PS技术吧。 |