使用Photoshop如何制作金色立体效果文字?
|
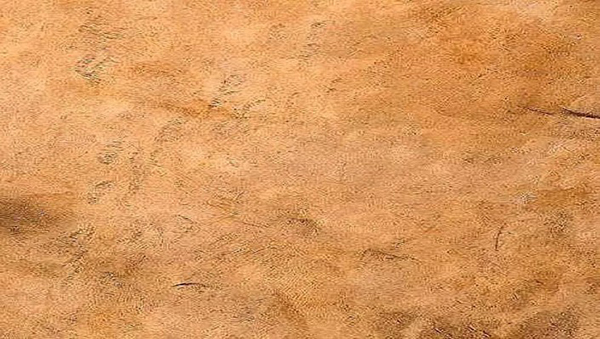
我们在设计图片的时候需要使用到文字的立体效果,很多使用Photoshop的小伙伴们不知道如何设计制作 效果,给他们的工作学习带来了很多的不便,下面小编就给带给大家使用Photoshop如何制作金色立体效果文字。 素材:
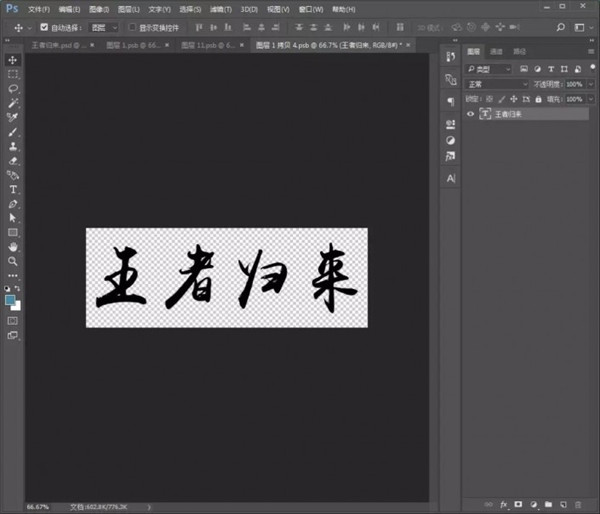
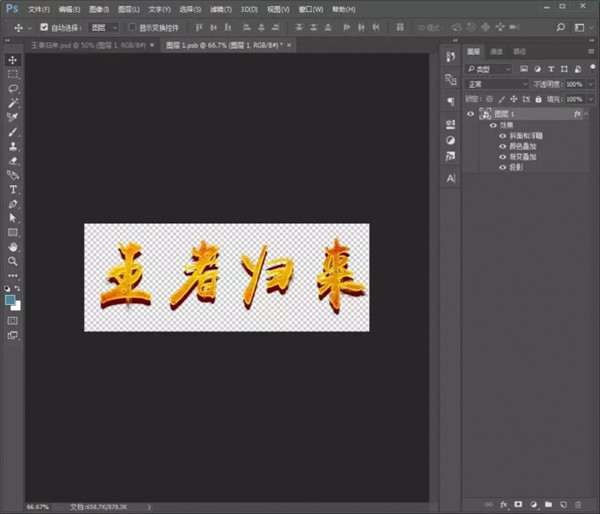
使用Photoshop制作金色立体效果文字步骤: 1、打开Photoshop新建任意画布大小,输入文字“王者归来”。
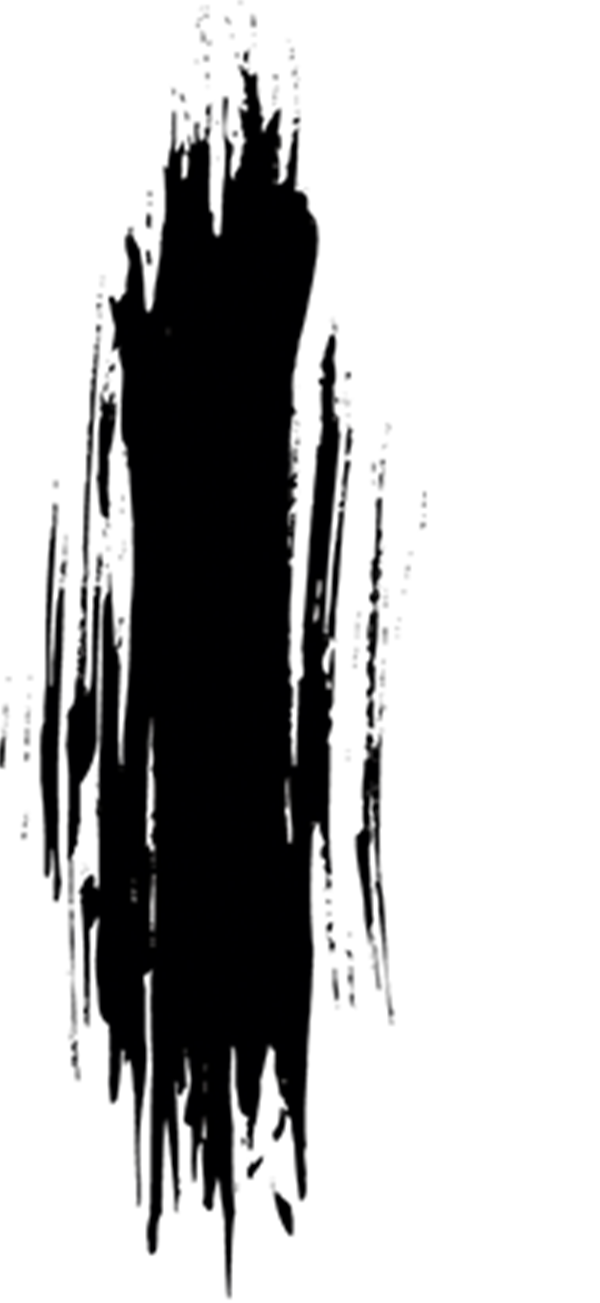
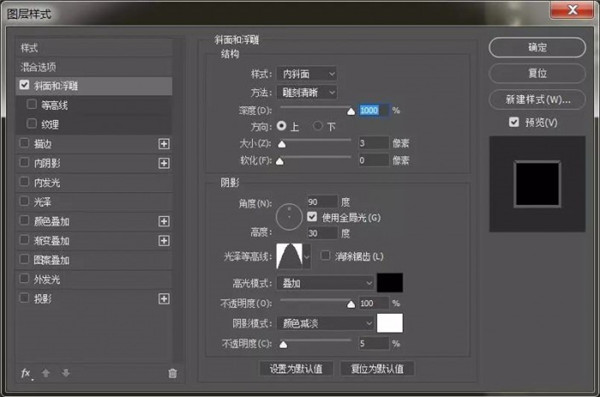
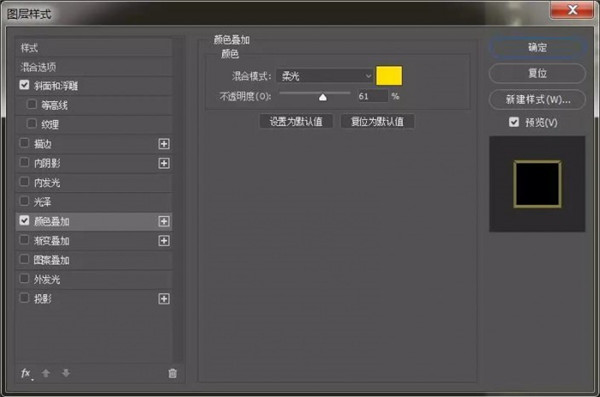
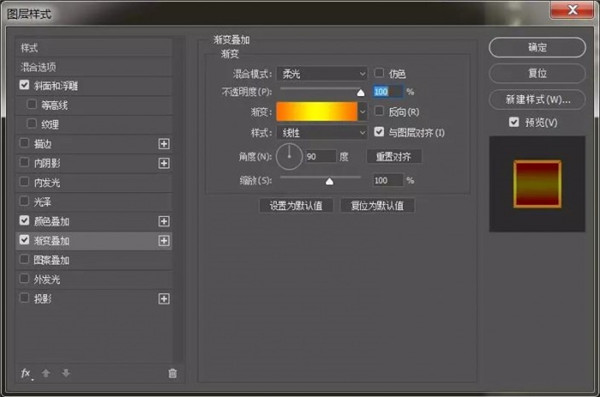
2、拖入笔刷素材,调整大小和角度,分别复制几层,如图 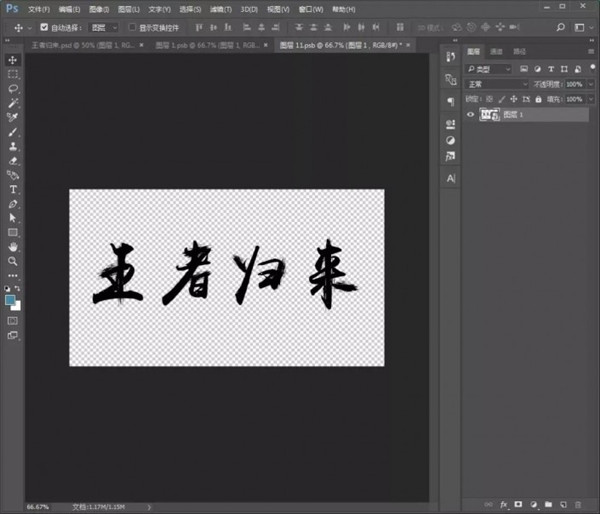 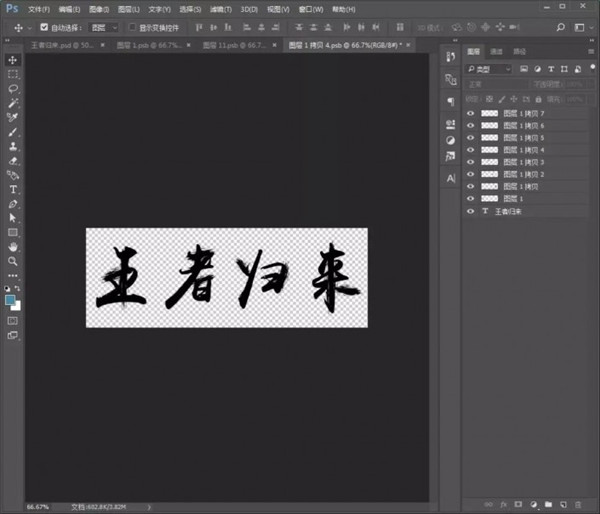 3、框选全部图层,鼠标右键转换为智能对象,然后拖入纹理素材,创建剪贴蒙版; 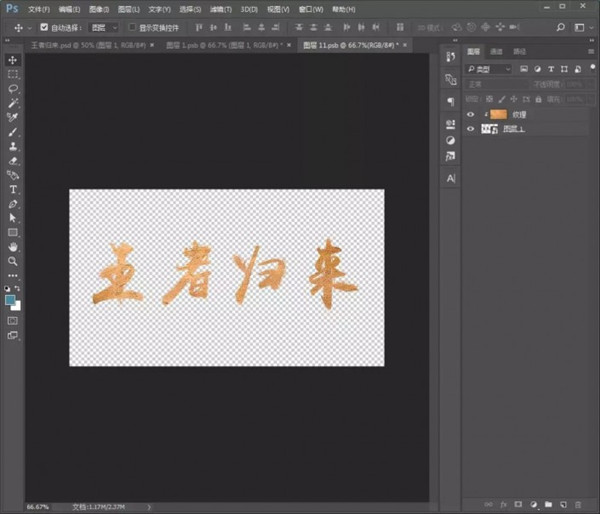 4、鼠标右键转换为智能对象,给文字添加图层样式;
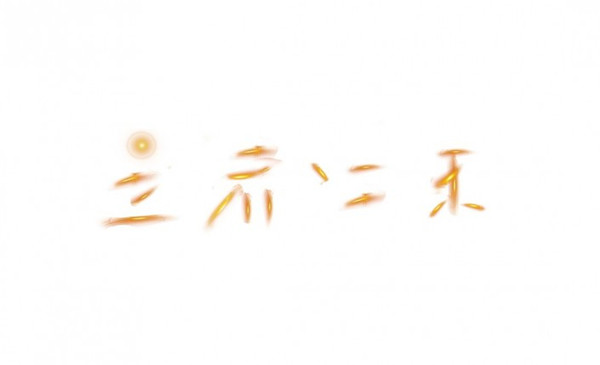
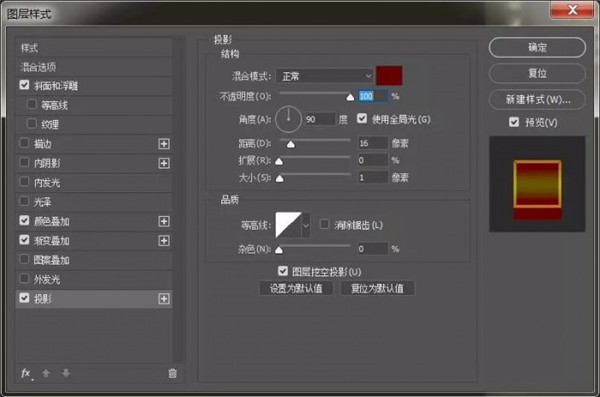
5、转换为智能对象,再次添加图层样式【投影】并拖入背景素材; 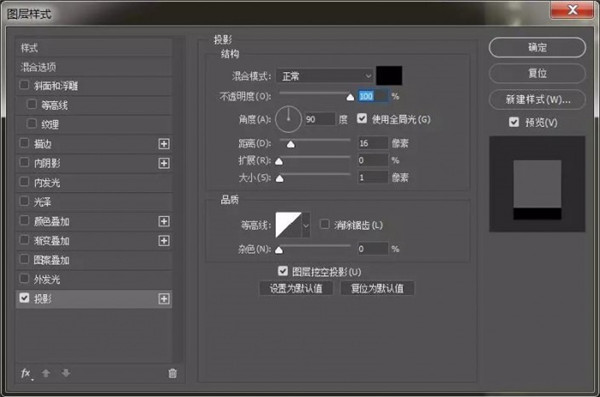  6、最后拖入高光素材(如果文字不一样的,可以使用套索工具来移动改变或)。 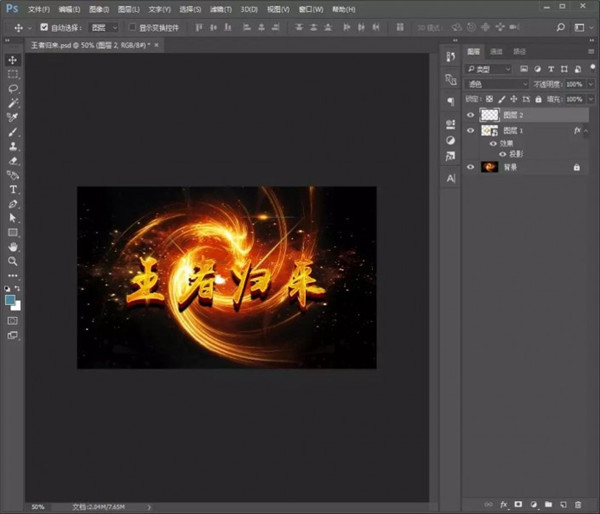 完成:  通过教程来学习一下吧,制作起来也是很简单快速的,如果用好了图层样式,相信同学们会感觉到,任何文字都不在话下。以上就是全部 过程,希望对你有所帮助! |