win7系统局域网设置教程
2014-11-13
电脑教程
来自:
未知
|
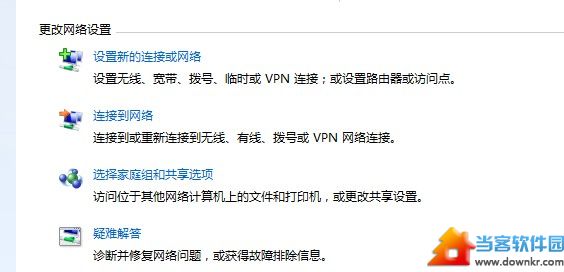
现在win7系统已经成为笔记本电脑的主流系统,但是很多朋友使用win7系统却不知道win7系统怎么设置局域网,今天小编就为大家带来了win7系统局域网设置方法,希望能对您有所帮助! 首先我们要在右下角的网络信息中选择打开网络和共享中心。
在网络和共享中心中,我们需要找到设置新的连接或网络。
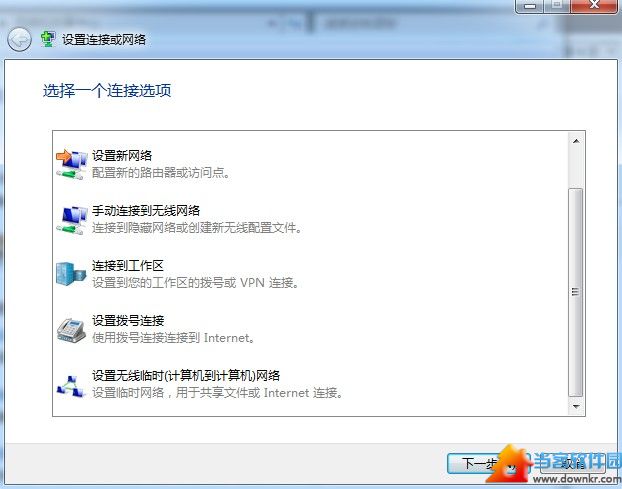
在设置新的连接和网络界面中选择最下面的设置无线临时(计算机到计算机)网络。
之后我们可以在设置临时网络界面中设置局域网的名称,密码等信息。
最后我们就可以在右下角的网络信息中选择新建立的局域网来使用了。
看了这款教程你就能够不用网线就和朋友一起联机游戏了! |